Creating and submitting a timesheet is a simple process within Certifi. To create a timesheet, follow these steps:
- Navigate to either the Dashboard or Timesheets tab from any Certifi page.
- Click on Create Timesheet on either page.
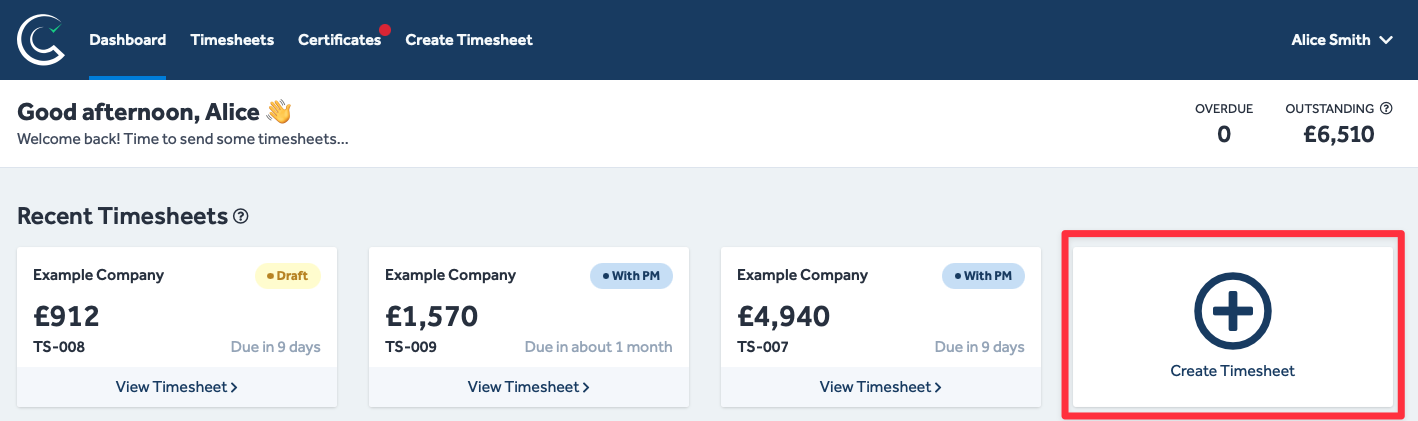

- This will open a New Timesheet page and automatically apply the Draft state to it whilst you edit the information.
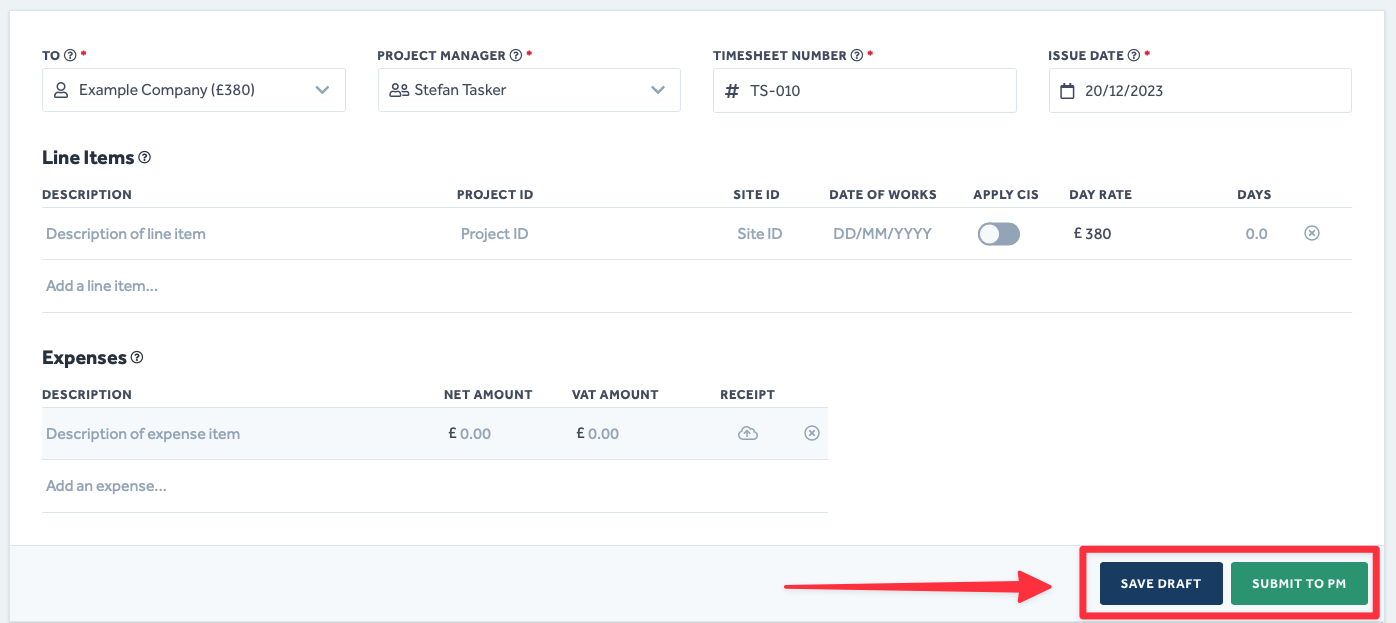
- The header fields are auto-filled for your convenience using your Certifi profile information; however, these are editable if you wish to make any changes.

Your timesheet's Issue Date field cannot be in the past.
- Use the provided fields in the Line Items section to describe the work you are claiming for.
- If applicable, use the Apply CIS toggle switch to apply a CIS deduction from each Line Item.
- If you have multiple Line Items to submit, click Add a line item...

- In the Expenses section, you can add a description of any extra expenses using the provided fields (leave this section blank if you have none you wish to claim for).
- You can add a copy of relevant receipts by clicking the cloud icon.
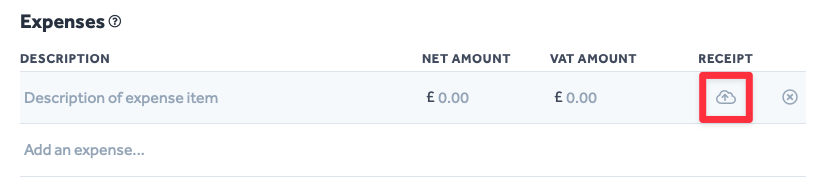
- This will open a pop-up window where you can upload an image of the relevant receipt.
- Click Done once you have uploaded an appropriate image file, and you will be returned to your timesheet.

- If you have multiple Expenses to add, click Add an expense...
- If you are happy with the details of your timesheet, click Submit to PM
- If you have not finished and want to come back to it later, click Save Draft
After pressing Submit to PM, your Project Manager will receive an email notifying them of your timesheet submission. They will then Approve or Reject the timesheet. If approved, it will be sent to a Finance user for payment.
To protect the data privacy of our platform users, all data visible in images throughout this article is from a dummy dataset generated expressly for demonstration purposes. It is not real data.